Color Film vs. Black and White Film Negatives: What's the Difference?
Converting negative film to photo? Learn the key differences between color and B&W negatives — how they work and what changes when you digitize them.
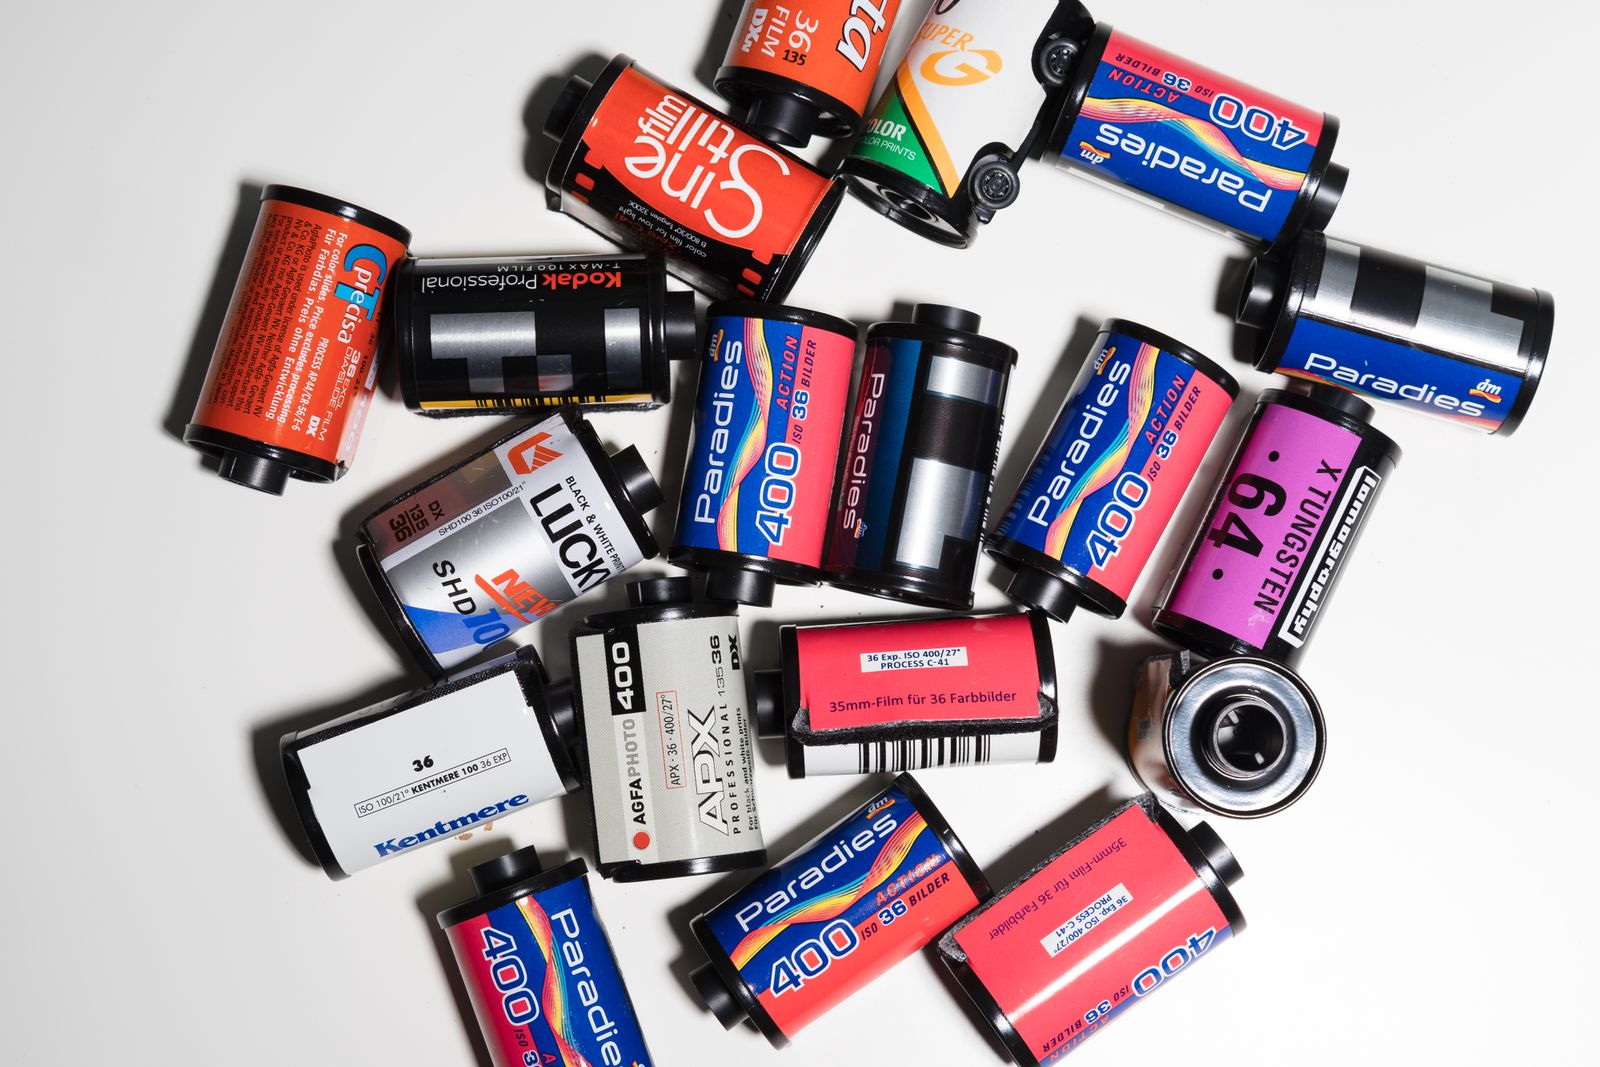
If you've ever held a strip of old film negatives up to the light and wondered why some look orange-ish while others are a cool, clear gray — you've already noticed the most visible difference between color and black and white film.
But the differences go much deeper than appearance. Understanding what makes each type of film unique helps you get better results when you digitize them — and gives you a deeper appreciation for the photos themselves.
The Short Answer
Color film negatives capture the full spectrum of light using multiple layers of light-sensitive chemicals. They have a distinctive orange tint due to the orange mask layer built into the film.
Black and white film negatives capture only luminosity — the brightness and darkness of a scene — using a single layer of silver halide crystals. They look gray, clear, and high-contrast when held to the light.
Both are negatives, which means the tones are reversed: dark areas in the original scene appear light on the negative, and vice versa. The difference is in what information they captured and how many layers they used to capture it.
How Color Film Works
Color film (sometimes called C-41 film, named after the chemical process used to develop it) is a remarkably complex piece of engineering. Each strip of color film contains three separate layers of emulsion, each one sensitive to a different color of light:
- Top layer: sensitive to blue light
- Middle layer: sensitive to green light
- Bottom layer: sensitive to red light
When light hits the film during exposure, each layer records a different part of the color spectrum. During development, these layers are converted into cyan, magenta, and yellow dyes — the complementary colors that combine to recreate the full range of visible color.
The orange mask explained:
If you hold a color negative up to the light, it has a strong orange-brown cast. This isn't a flaw — it's intentional. The orange mask is built into the film to improve color accuracy during the printing process. It compensates for the imperfect absorption characteristics of the cyan and magenta dye layers.
When you digitize color film negatives, the converter needs to account for this orange mask before it can invert the colors correctly. This is why color negative conversion is more technically complex than black and white — and why the orange cast disappears in the final restored image.
Common color film stocks you might encounter:
- Kodak Gold 200, Kodak ColorPlus, Kodak Ultramax
- Fujifilm Superia, Fujifilm Pro 400H
- Kodak Portra 400 (professional/portrait)
- Agfa Vista, Lomography films
How Black and White Film Works
Black and white film is simpler in structure — a single emulsion layer coated onto a clear or slightly tinted base. This layer contains silver halide crystals (typically silver bromide) that react to light.
When the film is developed, exposed crystals are converted to metallic silver, creating the dark areas of the negative. Unexposed crystals are washed away in the fixer, leaving the clear film base — which becomes the bright areas of the final positive image.
What makes a good B&W negative:
Good black and white negatives have a wide tonal range — deep blacks, clean highlights, and rich mid-tones. The best ones look almost three-dimensional when held to the light, with crisp grain structure.
Overexposed B&W negatives look very dense and dark throughout. Underexposed ones look thin and pale with little detail in the shadows.
Common black and white film stocks:
- Kodak Tri-X 400 (iconic grain, high contrast)
- Ilford HP5 Plus (versatile, great latitude)
- Ilford Delta 100 (very fine grain, sharp)
- Kodak T-MAX 400
- Fomapan 100 (budget-friendly, Eastern European classic)
Key Differences at a Glance
| Feature | Color Film | Black & White Film |
|---|---|---|
| Emulsion layers | 3 (for R, G, B) | 1 |
| Appearance when held to light | Orange-brown tint | Gray, clear, neutral |
| Development process | C-41 chemical process | D-76, Rodinal, or similar |
| Conversion complexity | Higher (orange mask removal) | Lower |
| Grain character | Finer, color-dependent | More prominent, silver-based |
| Mood/aesthetic | Realistic, documentary, nostalgic | Artistic, timeless, high contrast |
| Typical era | 1950s–present | 1880s–present (still shot today) |
Digitizing Color vs. B&W Negatives: What Changes?
When you're converting negative film to photo format, the type of film directly affects how the process works.
For color negatives:
The converter has to do two things: remove the orange mask and invert the colors simultaneously. This requires analyzing the overall color cast of the negative and correcting for it before inverting. If your photo of the negative has uneven lighting, it can throw off this calibration — which is why even, centered backlighting is especially important for color film.
The result should be a warm, natural-looking photograph with accurate skin tones and realistic colors.
For black and white negatives:
B&W conversion is more straightforward — there's no orange mask to compensate for. The converter simply inverts the tones: what was dark becomes light and vice versa. The result is a grayscale image with the tonal character of the original film stock.
B&W negatives are more forgiving with imperfect scanning technique. Even a slightly angled or poorly lit photo of a B&W negative will usually produce an acceptable result.
One thing to watch for with old B&W negatives:
Very old black and white photographs from before roughly 1940 may have been shot on different film types — ortho film, glass plates, or early panchromatic stocks — that behave differently. They may have a yellow-brown base tint rather than the clear gray of modern B&W film. If you're using an old negative photo converter like Negative Restore, these still process well — just expect the base color to look a little different from what you'd see with modern film.
Slides: The Third Type You Might Encounter
While looking through old film, you may also find slides — also called transparencies or reversal film. These are different from both color and black and white negatives.
Slides are positive images. When you hold a slide up to the light, you see the actual colors of the original scene, not an inverted version. They were designed to be projected directly, not printed.
Common slide film stocks include Kodachrome (discontinued in 2010), Ektachrome, and Fujichrome Velvia.
Because slides are already positive images, they don't need color inversion when digitized. You photograph them the same way (backlit on a bright screen), but the goal is to capture the image as-is rather than to invert it.
Slides typically have more saturated colors and higher contrast than color negative film — they were designed to be projected on a large screen in a dark room, so the images are punchy and vivid.
Which Type of Film Do You Have?
Not sure what you're working with? Here's a quick guide:
It's a color negative if:
- It has a strong orange or amber tint throughout
- The tones are inverted (bright areas look dark)
- It came from a standard point-and-shoot or SLR camera from the 70s, 80s, or 90s
It's a black and white negative if:
- It looks gray and clear when held to the light
- The tones are inverted (dark areas look light)
- The grain is visible and looks silver or metallic
It's a slide if:
- The colors look correct (not inverted) when held to the light
- It might be mounted in a small cardboard or plastic frame
- You can see recognizable colors — blue skies look blue, skin tones look normal
Final Thoughts
Whether you're working with a roll of Kodak Gold from a family holiday or a strip of Ilford HP5 from a photography class, the digitizing process is the same: backlight it, photograph it, crop it, convert it.
The main practical difference is that color negatives need slightly more care with lighting consistency due to the orange mask, while black and white negatives are more forgiving and quicker to process.
Either way, both types of film hold decades of memories that deserve to be rescued from boxes and brought back into the light.
Related Articles
- How to Scan Film Negatives at Home Without a Scanner
- How to Get the Best Results From Old or Damaged Negatives (coming soon)